scanservjs共享EPSON L383扫描功能
scanservjs共享EPSON L383扫描功能
狂犬主子接上文,我们已经在Linux系统上安装了CUPS,并成功添加了EPSON L383打印机。但这台打印机不仅仅是打印机,它还具备扫描功能。为了在局域网内共享扫描功能,我们需要使用scanservjs。
官网:https://sbs20.github.io/scanservjs/
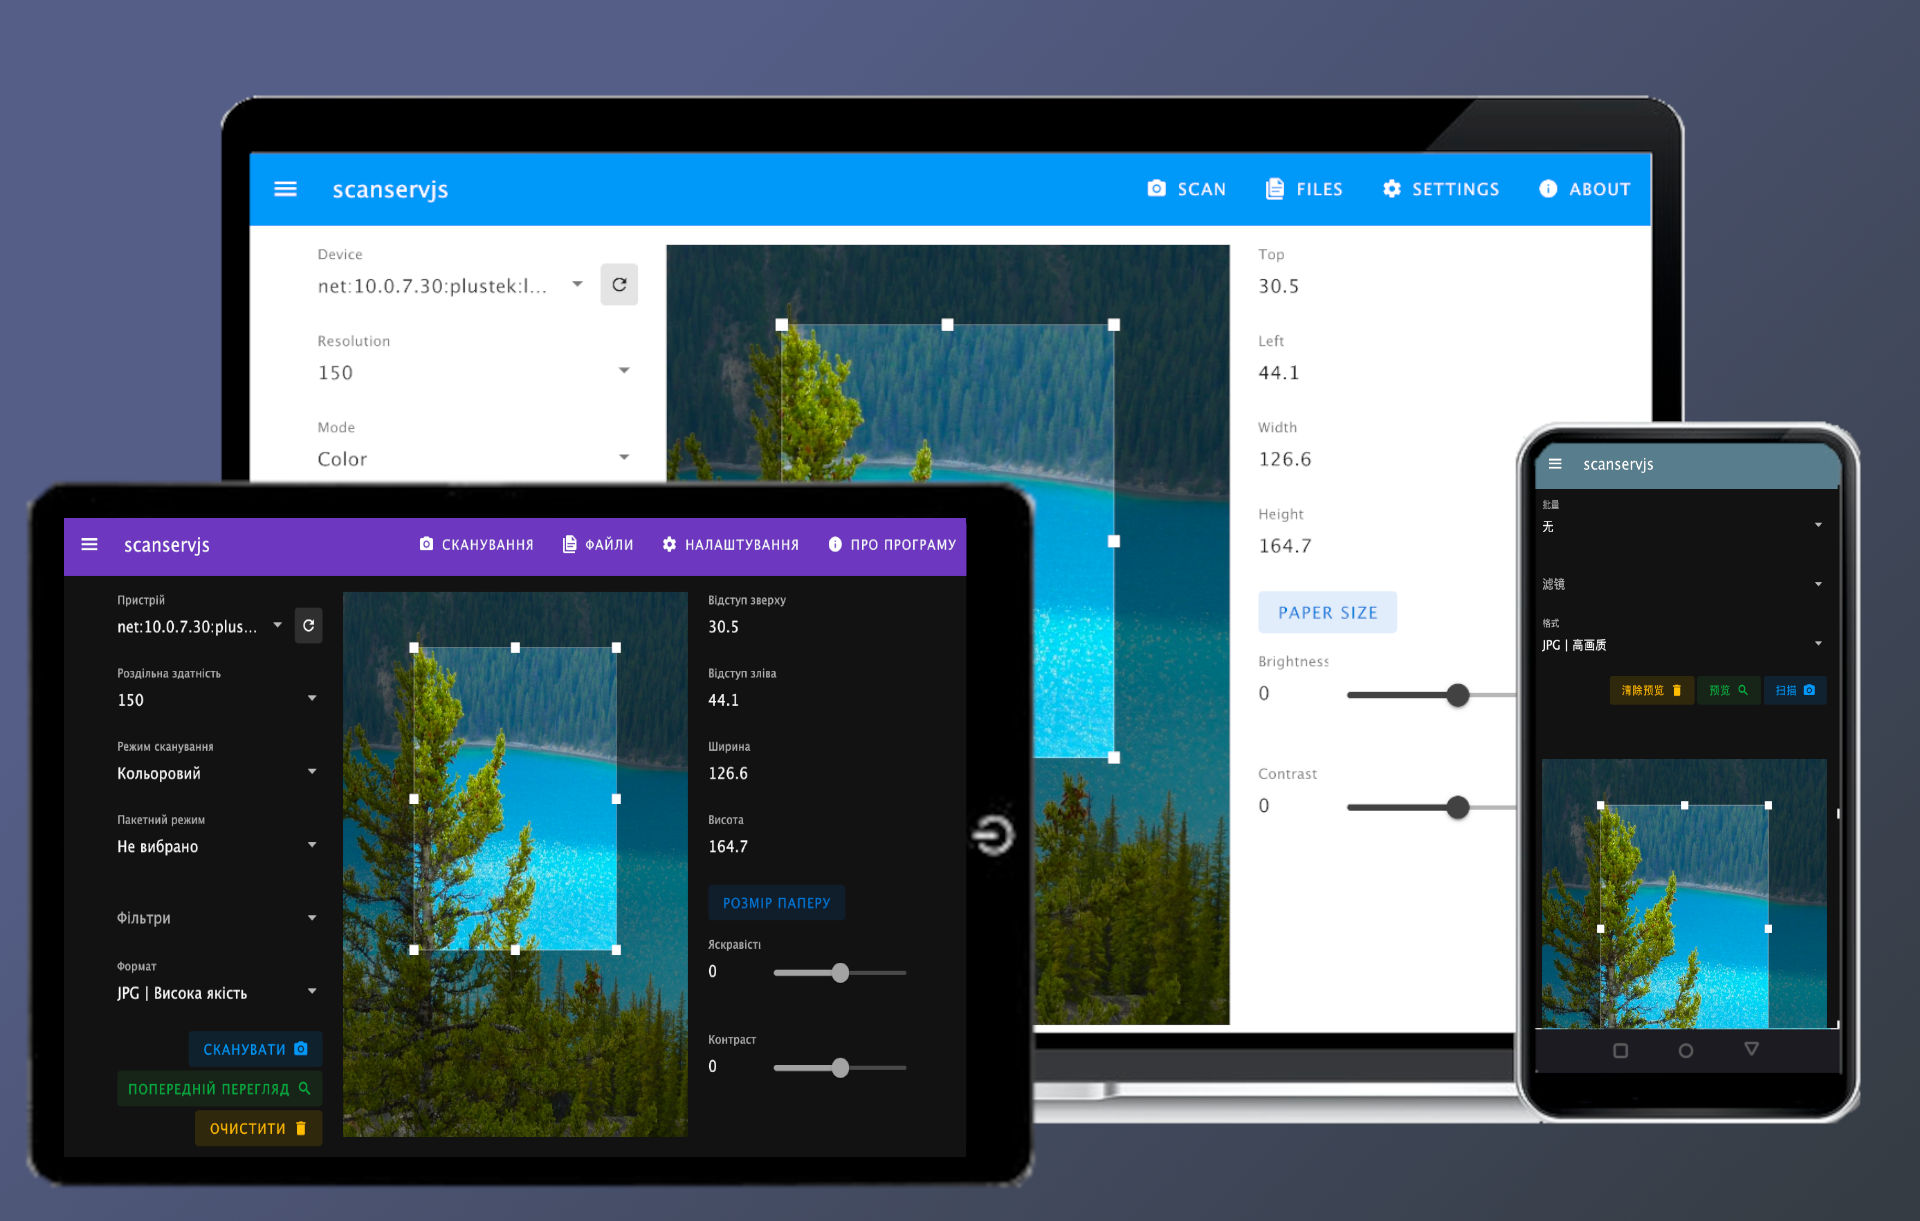
scanservjs是一个扫描仪的Web UI前端。它允许您在网络上共享一个或多个扫描仪(使用SANE),无需驱动程序或复杂的安装。
也就是说,只需要打印机的扫描驱动支持SANE协议,就可以通过ScanServJS共享扫描功能。
前置
- 安装EPSON L383打印机的SANE驱动
安装 sane-utils配置 Node.js
其实SANE官方的安装脚本也会自动安装,所以只需要确保打印机能正常在Linux上扫描即可。另外,现在官方已经提供deb包了,所以直接安装即可,本文不使用脚本。
执行:
1 | scanimage -L |
正常情况下会显示类似如下的输出:
1 | root@CUPS:~# scanimage -L Created directory: /var/lib/snmp/cert_indexes device `epson2:libusb:002:002' is a Epson PID 1120 flatbed scanner |
安装scanservjs
访问:https://github.com/sbs20/scanservjs/releases/latest 获取最新版本的deb包下载地址,本文使用的是v3.2.0版本。
1 | wget https://gh.xrgzs.top/https://github.com/sbs20/scanservjs/releases/download/v3.2.0/scanservjs_3.2.0-1_all.deb apt install ./scanservjs_3.2.0-1_all.deb |
1 | Reading package lists... Done Building dependency tree... Done Reading state information... Done Note, selecting 'scanservjs' instead of './scanservjs_3.2.0-1_all.deb' The following additional packages will be installed: fontconfig hicolor-icon-theme imagemagick imagemagick-6-common imagemagick-6.q16 libarchive13t64 libcares2 libdatrie1 libdjvulibre-text libdjvulibre21 libfftw3-double3 libfribidi0 libgif7 libgomp1 libgraphite2-3 libharfbuzz0b libimath-3-1-29t64 libjxr-tools libjxr0t64 liblept5 liblqr-1-0 libmagickcore-6.q16-7-extra libmagickcore-6.q16-7t64 libmagickwand-6.q16-7t64 libnetpbm11t64 libnode109 libopenexr-3-1-30 libpango-1.0-0 libpangocairo-1.0-0 libpangoft2-1.0-0 libraw23t64 libtesseract5 libthai-data libthai0 libuv1t64 libwebpdemux2 libwebpmux3 libwmflite-0.2-7 netpbm node-acorn node-busboy node-cjs-module-lexer node-undici node-xtend nodejs nodejs-doc tesseract-ocr tesseract-ocr-ara tesseract-ocr-ces tesseract-ocr-chi-sim tesseract-ocr-deu tesseract-ocr-eng tesseract-ocr-fra tesseract-ocr-ita tesseract-ocr-nld tesseract-ocr-osd tesseract-ocr-pol tesseract-ocr-por tesseract-ocr-rus tesseract-ocr-spa tesseract-ocr-tur Suggested packages: imagemagick-6-doc autotrace enscript ffmpeg gimp gnuplot grads graphviz groff-base hp2xx html2ps libwmf-bin mplayer povray radiance texlive-base-bin transfig libraw-bin xdg-utils lrzip libfftw3-bin libfftw3-dev inkscape npm The following NEW packages will be installed: fontconfig hicolor-icon-theme imagemagick imagemagick-6-common imagemagick-6.q16 libarchive13t64 libcares2 libdatrie1 libdjvulibre-text libdjvulibre21 libfftw3-double3 libfribidi0 libgif7 libgomp1 libgraphite2-3 libharfbuzz0b libimath-3-1-29t64 libjxr-tools libjxr0t64 liblept5 liblqr-1-0 libmagickcore-6.q16-7-extra libmagickcore-6.q16-7t64 libmagickwand-6.q16-7t64 libnetpbm11t64 libnode109 libopenexr-3-1-30 libpango-1.0-0 libpangocairo-1.0-0 libpangoft2-1.0-0 libraw23t64 libtesseract5 libthai-data libthai0 libuv1t64 libwebpdemux2 libwebpmux3 libwmflite-0.2-7 netpbm node-acorn node-busboy node-cjs-module-lexer node-undici node-xtend nodejs nodejs-doc scanservjs tesseract-ocr tesseract-ocr-ara tesseract-ocr-ces tesseract-ocr-chi-sim tesseract-ocr-deu tesseract-ocr-eng tesseract-ocr-fra tesseract-ocr-ita tesseract-ocr-nld tesseract-ocr-osd tesseract-ocr-pol tesseract-ocr-por tesseract-ocr-rus tesseract-ocr-spa tesseract-ocr-tur 0 upgraded, 62 newly installed, 0 to remove and 0 not upgraded. Need to get 50.8 MB/53.3 MB of archives. After this operation, 189 MB of additional disk space will be used. Do you want to continue? [Y/n] |
可以看到,安装过程中会自动安装一些依赖包,包括Node.js、Tesseract OCR等。这里我使用的Ubuntu 24.04 LTS 系统,系统软件源里面的Node.js版本是v18.19.1,其实也不算新,如果你使用的是更老的系统,自带的Node.js版本可能会更老,需要手动配置软件源。
安装完成后,ScanServJS会自动注册为一个systemd服务,并且默认会在系统启动时自动启动。你可以使用以下命令检查服务状态:
1 | systemctl status scanservjs |
1 | root@CUPS:~# systemctl status scanservjs ● scanservjs.service - scanservjs Loaded: loaded (/u sr/lib/systemd/system/scanservjs.service; enabled; preset: enabled) Active: active (running) since Sun 2026-07-26 17:29:17 UTC; 4min 31s ago Main PID: 1340 (node) Tasks: 10 (limit: 521) Memory: 62.7M (peak: 66.2M) CPU: 899ms CGroup: /system.slice/scanservjs.service └─1340 node /usr/lib/scanservjs/server/server.js Jul 26 17:29:17 CUPS systemd[1]: Started scanservjs.service - scanservjs. Jul 26 17:29:18 CUPS server.js[1340]: [2026-07-26T17:29:18.839Z] INFO (server): scanservjs started listening: https://:::8080 root@CUPS:~# |
如果服务没启动的话,具体 systemctl 的使用方法 TL;DR,建议自行 AI。
使用scanservjs
访问:http://<服务器IP>:8080/
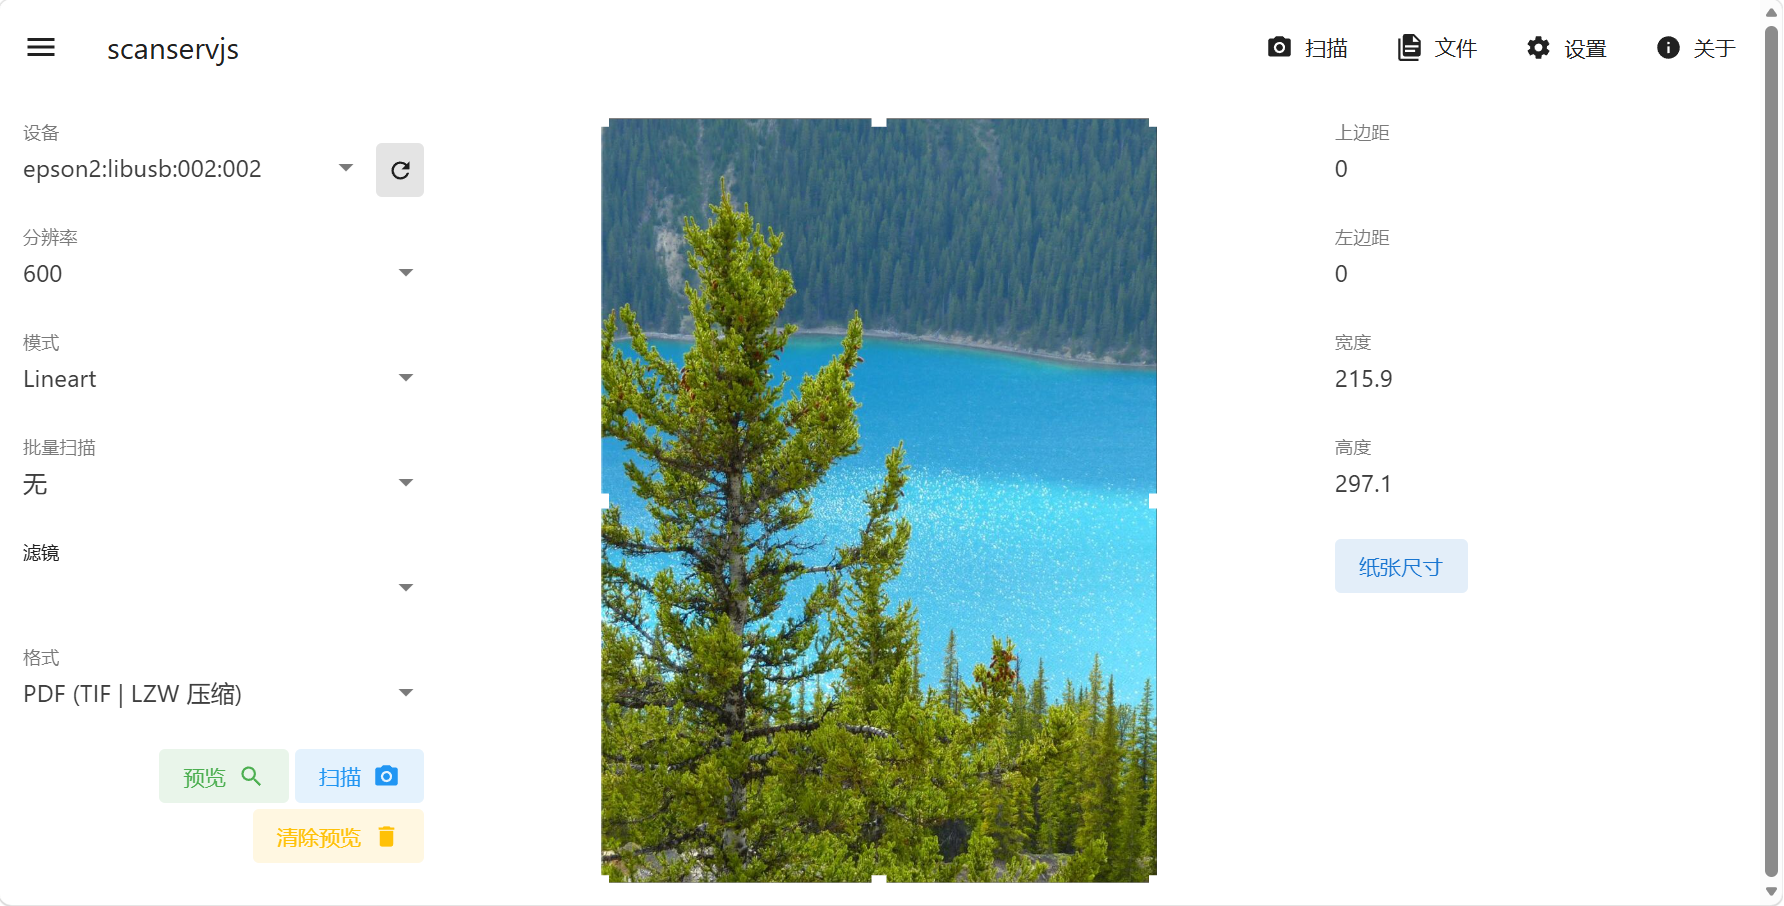
这个界面其实很容易使用,而且有中文。只需要选择一下你的扫描设备,然后设置一下分辨率(一般300dpi就够了)、颜色模式(黑白、灰度、彩色),滤镜一般不用开,格式选择PNG或者TIFF都是无损的,最后点击扫描按钮就可以了。
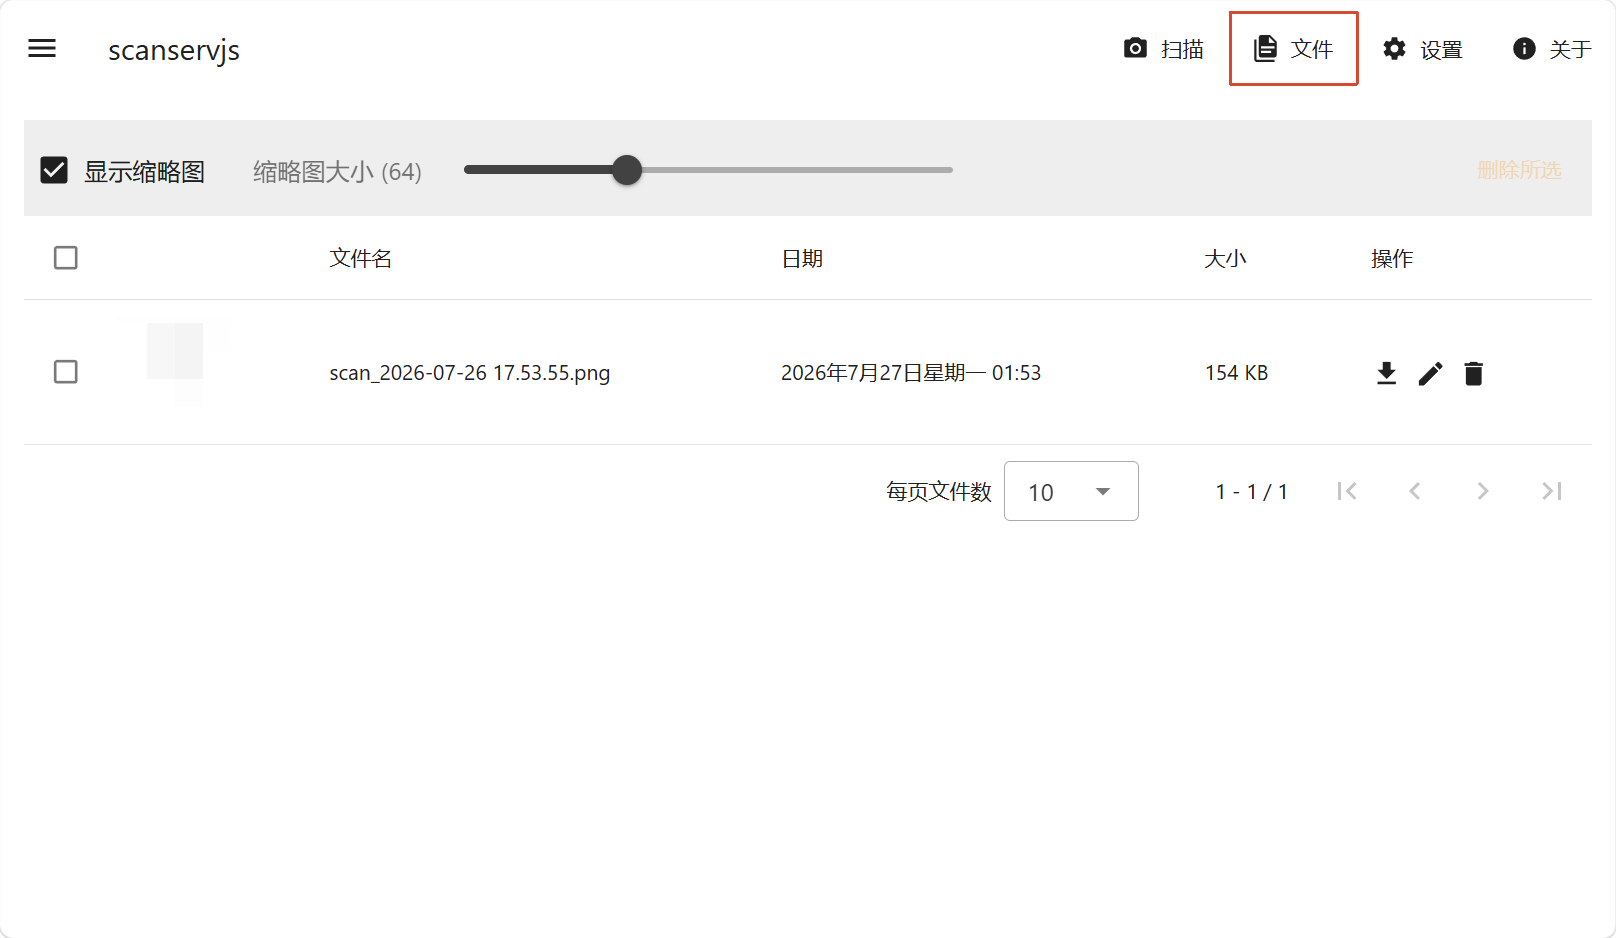
扫描好的文件可以通过「文件」菜单进入文件页面查看和下载。注意这个扫描完的文件是会存到打印服务器,其他人也可以看得到,所以用完请记得删除。