NVM / FNM 安装使用
NVM / FNM 安装使用
狂犬主子2026 更新:不推荐使用 nvm,强烈推荐使用 fnm。
文章已修改。
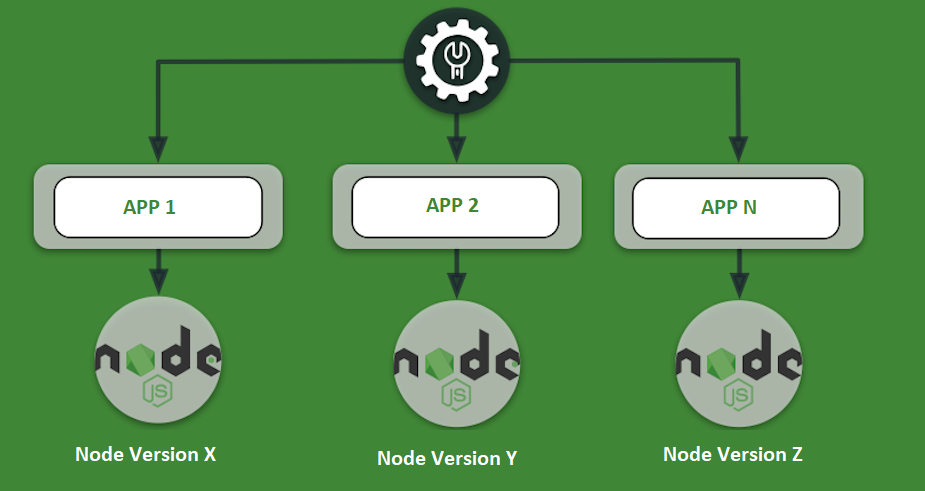
在前端开发中,Node.js 是一个重要的工具。不同项目可能需要不同版本的 Node.js,因此使用 Node.js 版本管理工具(如 nvm 或 fnm)可以帮助我们轻松切换和管理多个 Node.js 版本。本文将介绍如何安装和使用 fnm 来管理 Node.js 版本。
安装
Linux / macOS
安装前请确保已经安装了 curl 和 unzip。
输入以下命令安装 fnm:
1 | curl -fsSL https://fnm.vercel.app/install | bash # 如果上面那个打不开,使用: curl -fsSL https://gh.xrgzs.top/https://raw.githubusercontent.com/Schniz/fnm/refs/heads/master/.ci/install.sh | bash |
安装完成后,脚本会自动添加配置到你的 shell 配置文件中(如 ~/.bashrc 或 ~/.zshrc)。需要重新加载配置文件或者重启终端来使配置生效:
1 | source ~/.bashrc # source ~/.zshrc |
也可以用 Homebrew 安装:
1 | brew install fnm |
Windows
注意:在Windows上,fnm可能不支持给其他无终端的应用提供Node.js安装功能,一些工具会提示找不到Node.js。一般建议在Windows上全局安装Node.js LTS,然后在VS Code的终端(PowerShell)中使用fnm来管理不同版本的Node.js。
Windows 这边可以用 WinGet 安装,也可以用 Scoop 安装:
1 | winget install Schniz.fnm # scoop install fnm |
配置终端
Bash / Zsh
如果使用脚本安装,通常会自动配置好。如果没有,可以手动添加配置。
在 ~/.bashrc 或 ~/.zshrc 中添加:
1 | eval "$(fnm env --use-on-cd --shell bash)" # eval "$(fnm env --use-on-cd --shell zsh)" |
安装自动补全(可选)
1 | fnm completions --shell bash | sudo tee /usr/share/bash-completion/completions/fnm |
PowerShell
PowerShell 分为 Windows PowerShell 和 PowerShell Core,两个的配置文件路径不一样,需要分别配置(如果你两个都要用的话)。
查看配置地址:
1 | Write-Host $PROFILE if (-not (Test-Path $PROFILE)) { New-Item $PROFILE -Force } |
在 $PROFILE 中添加:
1 | fnm env --use-on-cd --shell powershell | Out-String | Invoke-Expression |
CMD
(独家)
如果你使用 CMD,那么大概率不支持 FNM 的自动切换功能。但如果你需要在脚本中使用,可以这么写:
1 | @echo off fnm env --shell cmd >> %TEMP%\fnm-env.cmd call %TEMP%\fnm-env.cmd del /q %TEMP%\fnm-env.cmd node -v |
安装 Node
换源
fnm 默认从官方服务器下载 Node.js。在中国大陆环境下,建议配置镜像以加速下载。
设置环境变量 FNM_NODE_DIST_MIRROR:
1 | export FNM_NODE_DIST_MIRROR="https://npmmirror.com/mirrors/node/" # PowerShell: $env:FNM_NODE_DIST_MIRROR="https://npmmirror.com/mirrors/node/" # Windows: setx FNM_NODE_DIST_MIRROR "https://npmmirror.com/mirrors/node/" |
获取可用版本列表:
1 | fnm list-remote |
安装指定版本
一般建议装安装最新的 LTS 版本,或者你项目需要的版本:
1 | fnm install 24 |
安装 PNPM
这里我们使用 Corepack 来安装 pnpm。Corepack 允许你在 package.json 中指定包管理器的版本,并且会自动安装和使用指定版本的包管理器。强烈推荐使用 Corepack 来管理 pnpm,这样可以确保在不同项目中使用不同版本的 pnpm,而不需要全局安装。
在安装 pnpm 前,需要换一下 NPM 源:
1 | npm config --global set registry https://registry.npmmirror.com |
如果你使用的是 v26 版本的 Node.js,Corepack 需要单独安装:
1 | npm install -g corepack |
在 Corepack 安装前需要换一下源:
1 | export COREPACK_NPM_REGISTRY="https://registry.npmmirror.com" export NPM_CONFIG_REGISTRY="https://registry.npmmirror.com" # PowerShell: $env:COREPACK_NPM_REGISTRY=$env:NPM_CONFIG_REGISTRY="https://registry.npmmirror.com" # Windows: setx COREPACK_NPM_REGISTRY "https://registry.npmmirror.com" # Windows: setx NPM_CONFIG_REGISTRY "https://registry.npmmirror.com" |
然后:
1 | corepack enable pnpm pnpm -v |
切换版本
1 | fnm use 20 |
设置默认版本
1 | fnm default 20 |